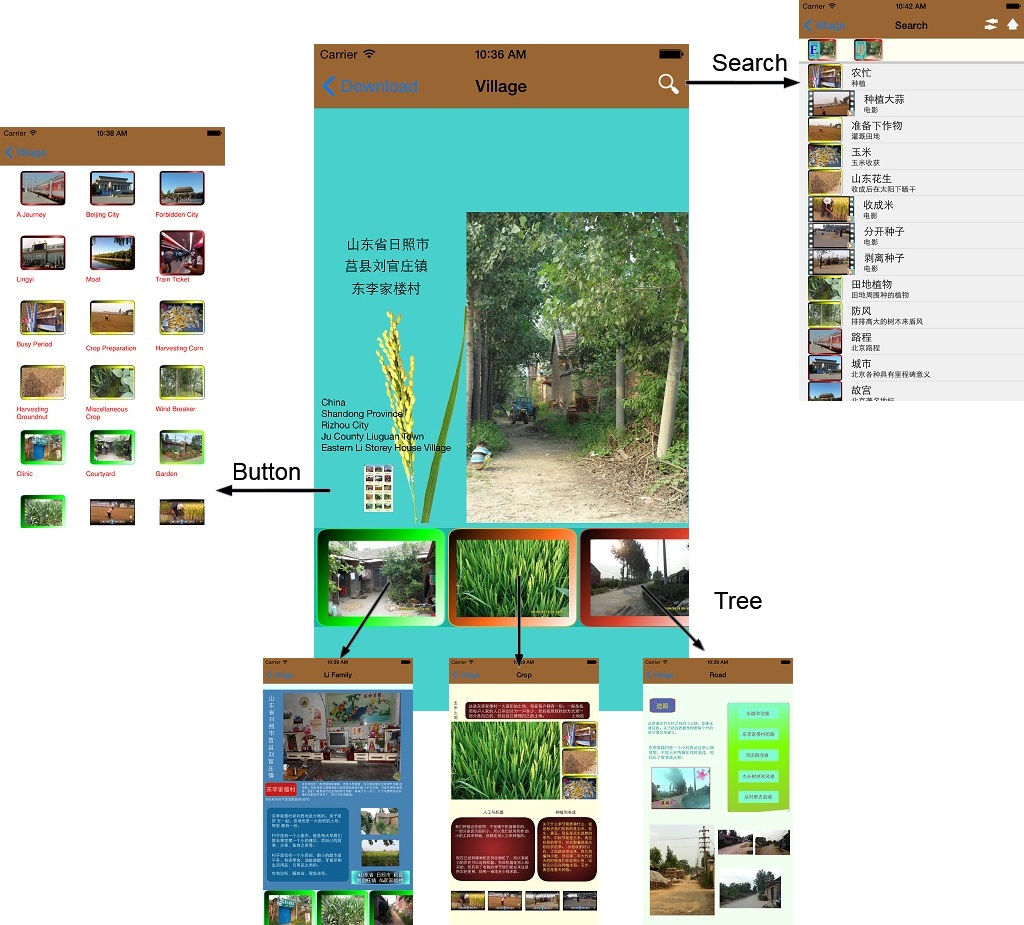
[size=+1]Creating the Project Information[/size]
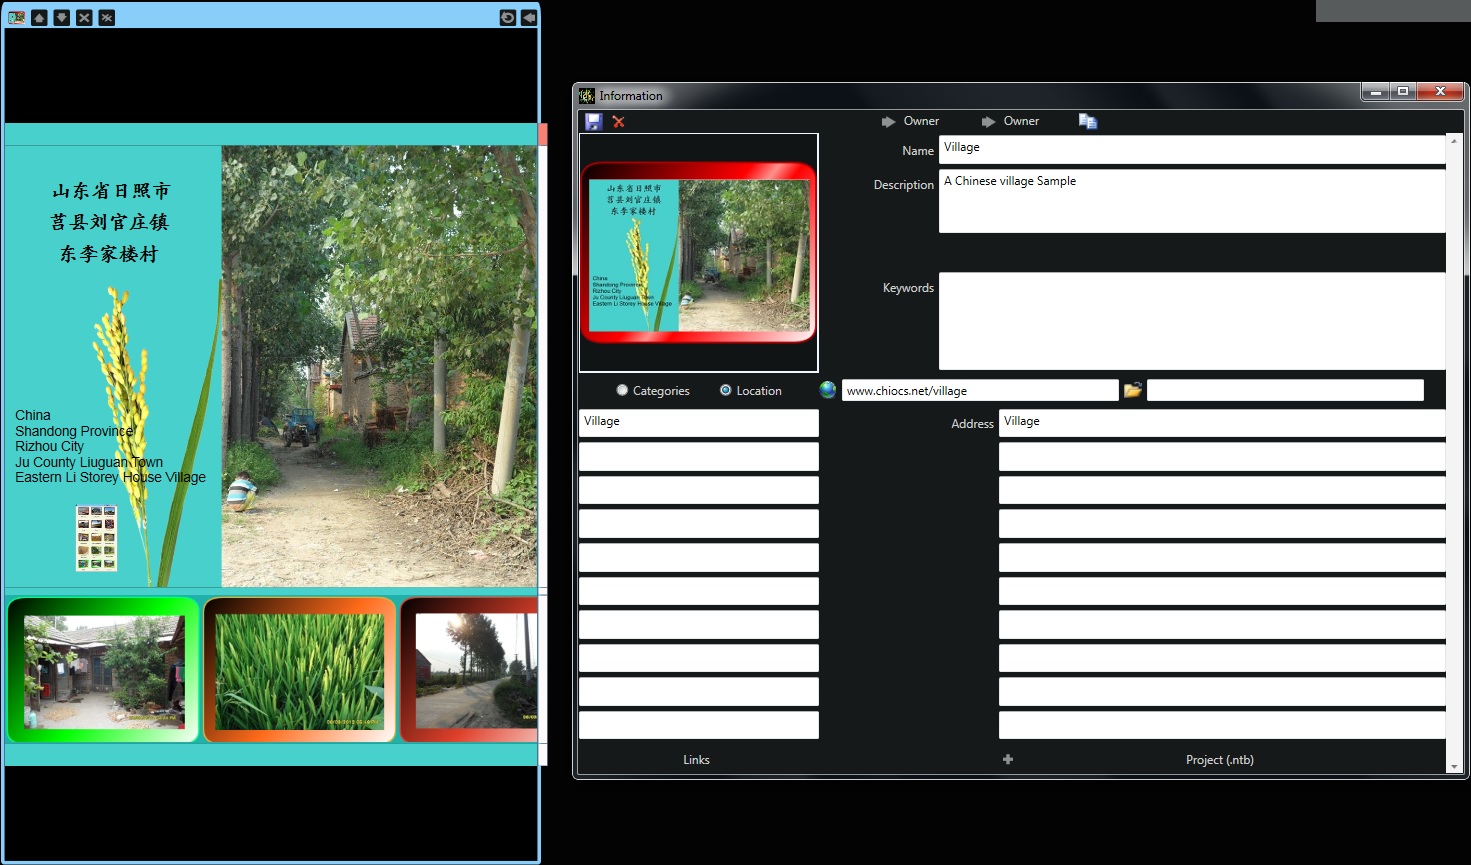
Catalog Explorer uses this information for various purposes. First and foremost, to save as favorite it gets the icon and name from the project information stored inside the catalog file. Secondly to facilitate searching, you has to include it's location and categories.
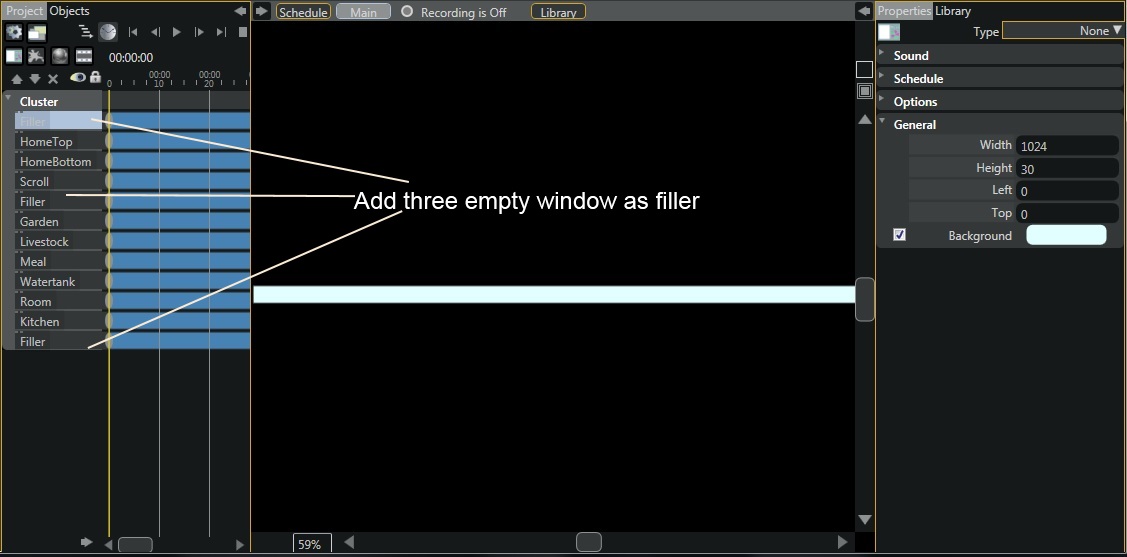
Creating the icon
You can create your icon by using other graphic tools, otherwise you can use Noticeboard to create a simple icon. So, launch Noticeboard.
Add a window, draw a rectangle path and click the Pointer, select the round rectangle from the property panel or any other shapes. To learn more about creating vector shape
click here. Adjust the width and height, 250 pixels in width or height is sufficient. Convert to shape and apply the necessary gradients or colors of your choice. Save the shape to an image file from the File menu. Click new from the File menu, add a window, drag and drop the shape back into the window and drop your picture, combine it to form the icon. Save it to an image file (icon).
To learn more about creating the Project Information
click here
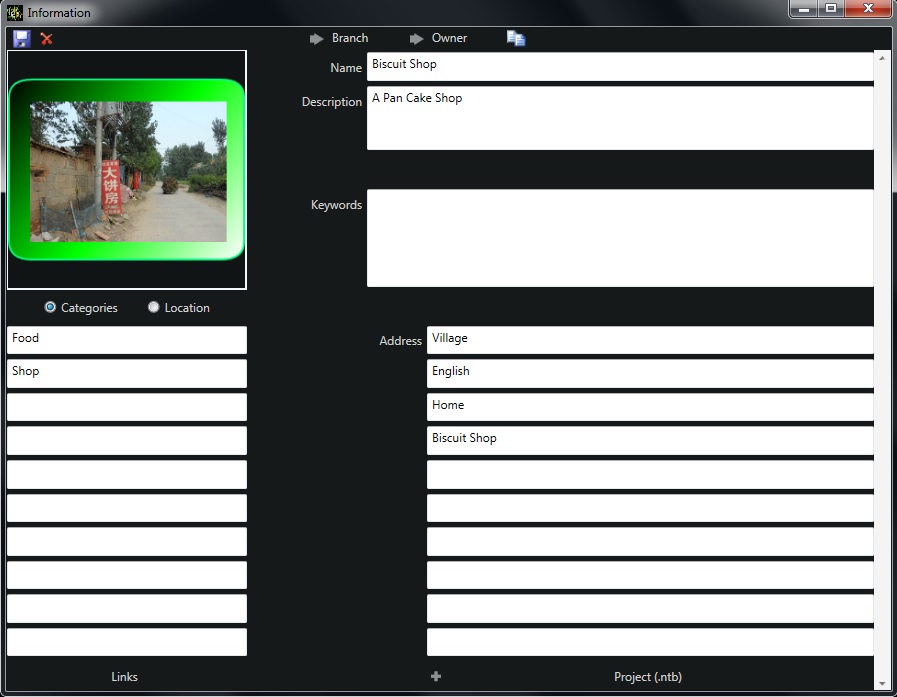
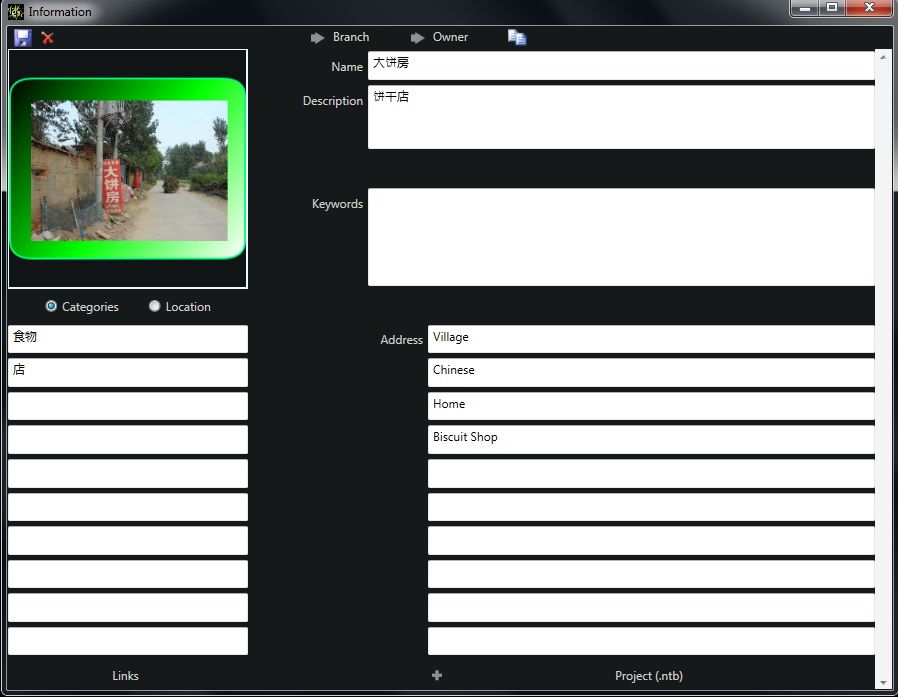
Name
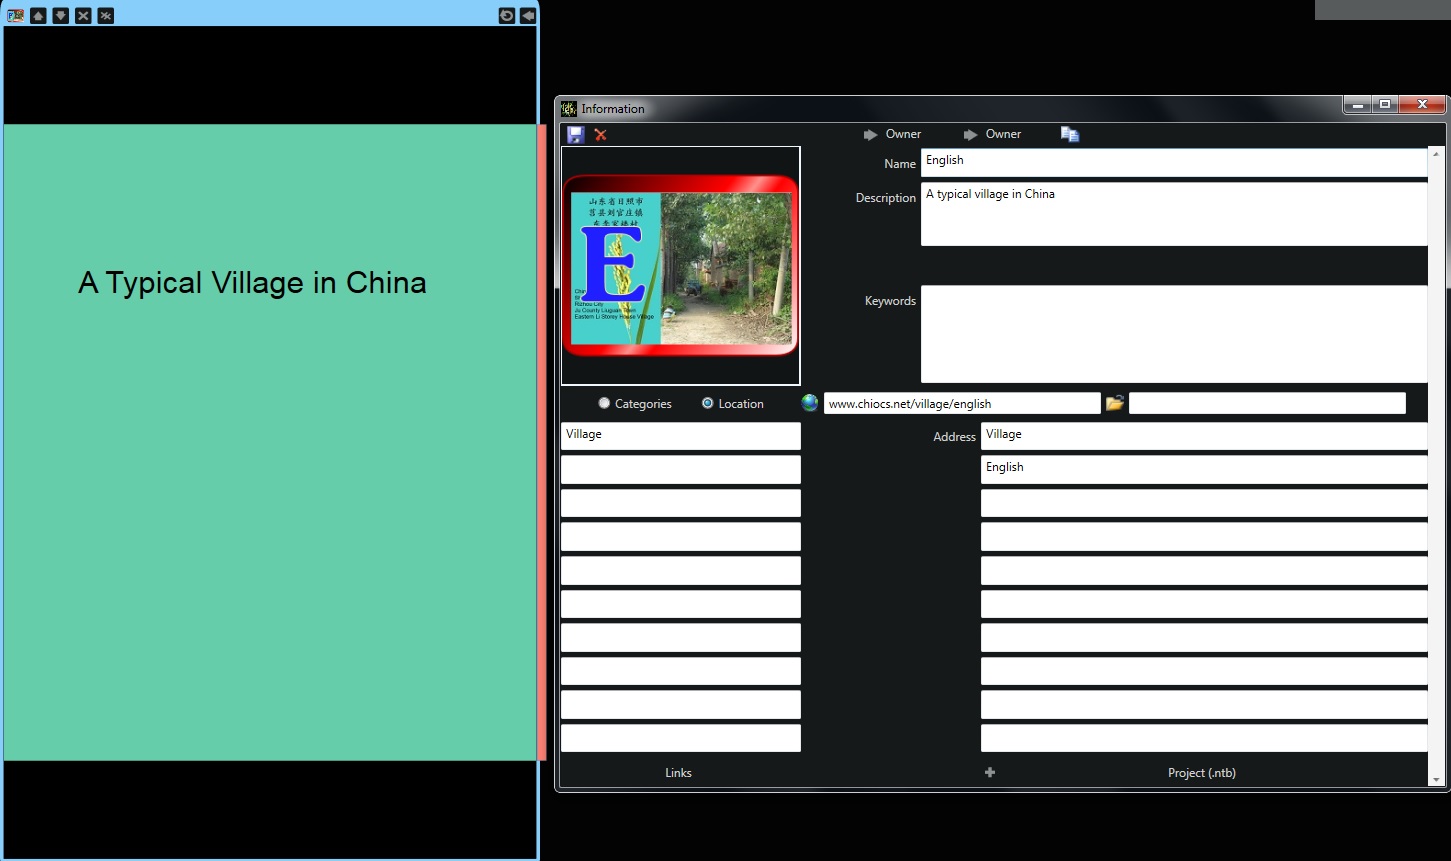
In the search panel, it shows both the name and description, you should get ready an unique name for each catalog.
Location ( only Ascii character, non Ascii are not supported at the moment )
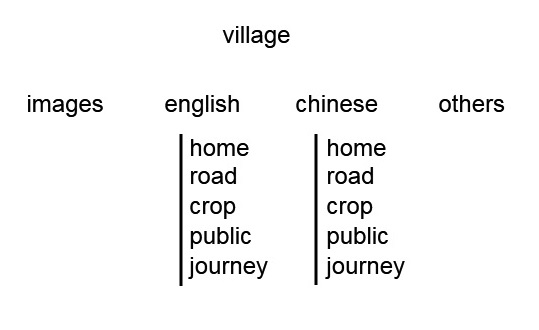
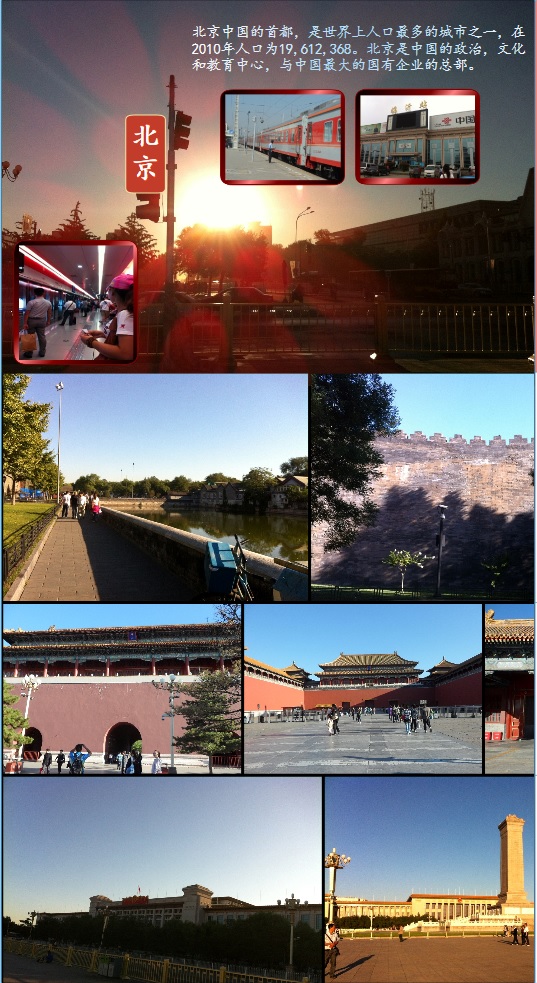
The location information is hierarchical. Just like a country, you have the name of the country at the top followed by states/province, city, district, road, street, unit etc... from major to minor. Catalog Explorer uses these to build the corresponding structure for searching.
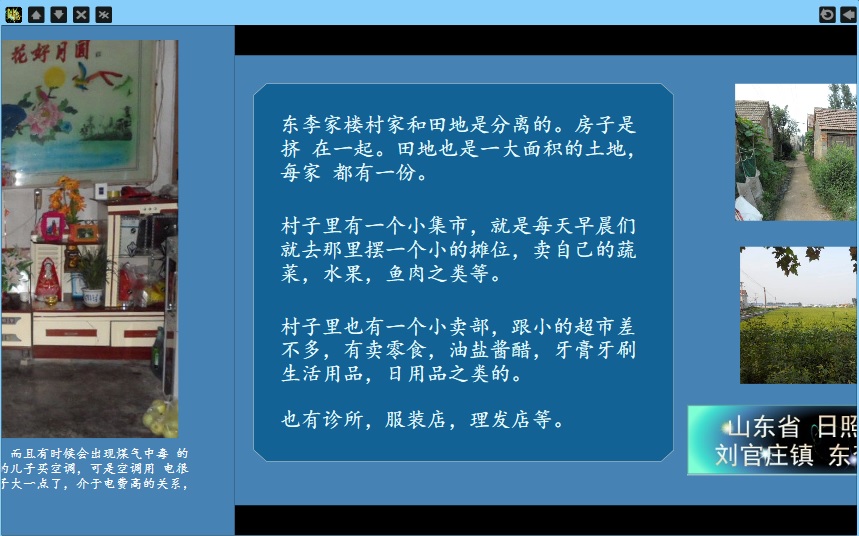
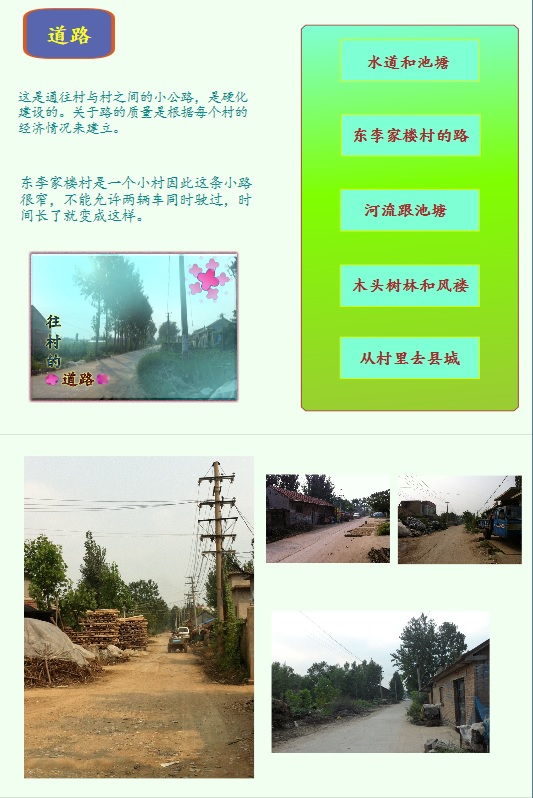
Village
English Chinese
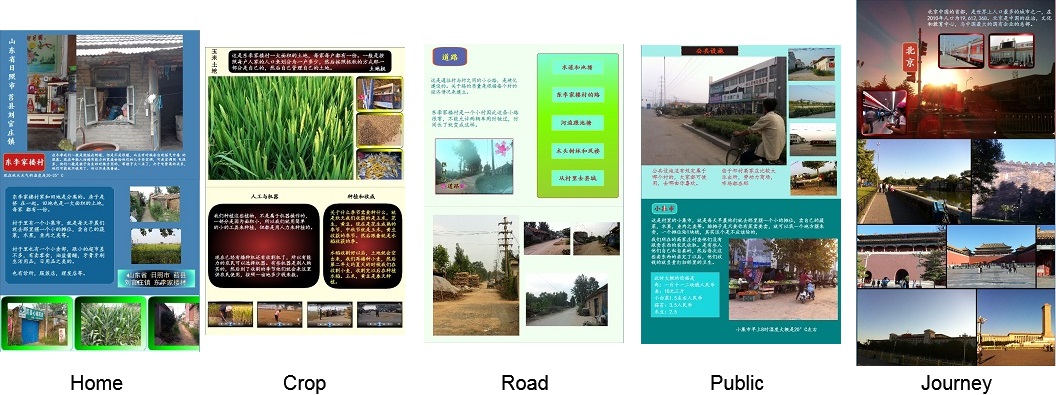
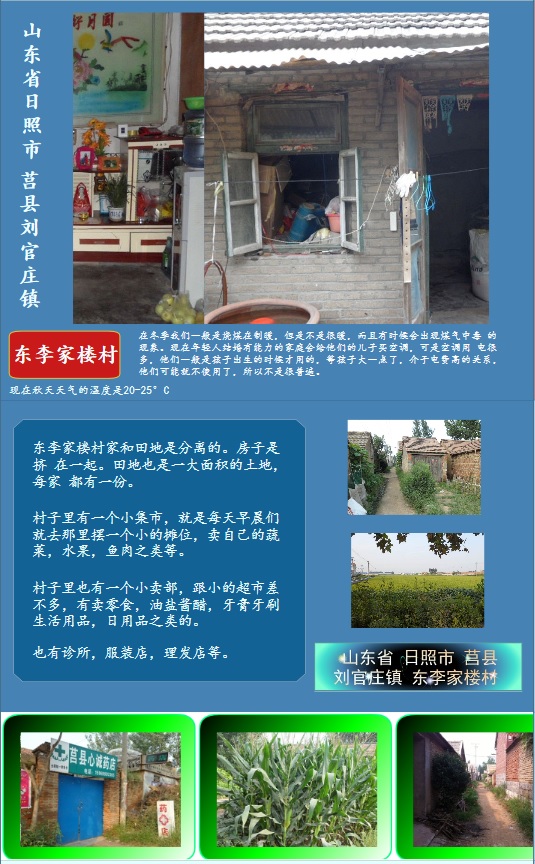
Home Road Crop Public Journey
( the individual addresses )
In order to create for multiple languages, you need a set of catalogs for each language.
Categories
Like location it is implemented to walk through each category from top to bottom. Therefore the major categories start from the top followed by the minor sub-categories.
Top -> Second --> Third
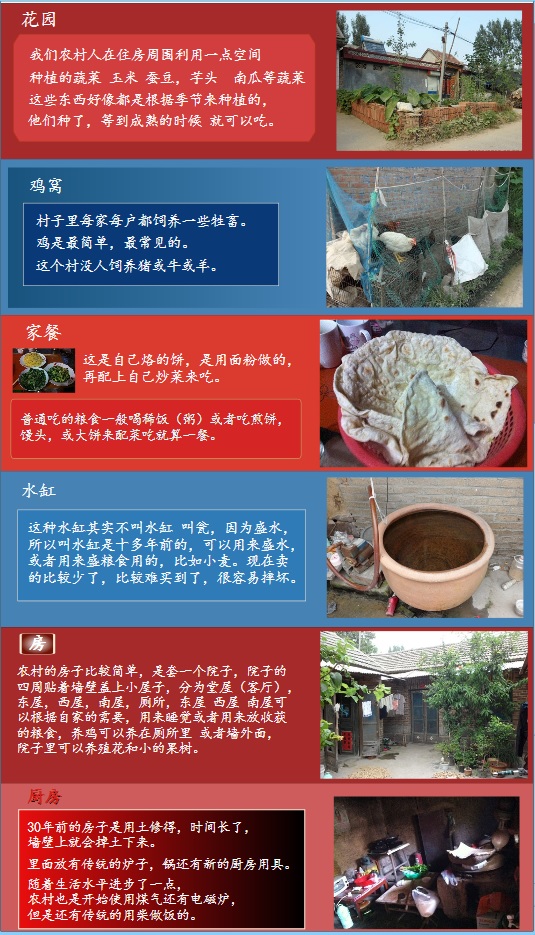
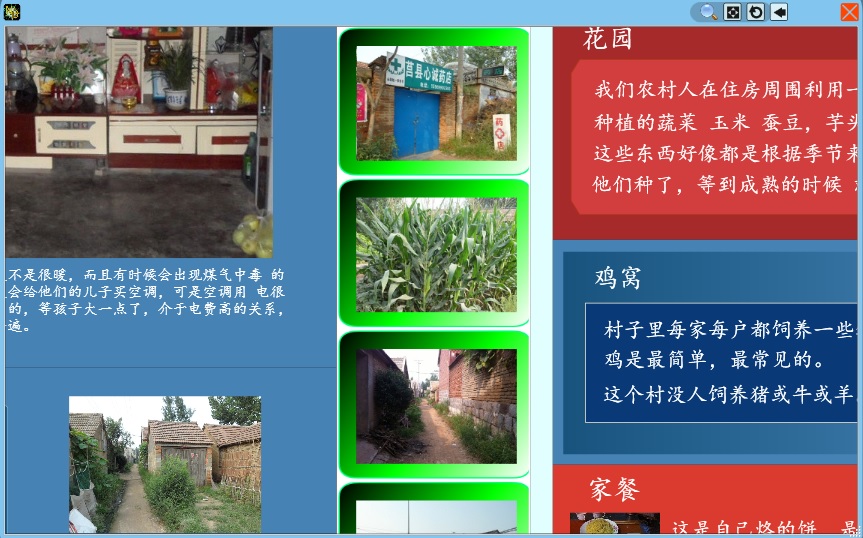
Home -> Utility Food Room Yard ( Houses --> Types )
Travel -> Beijing Totown
Food -> Shop
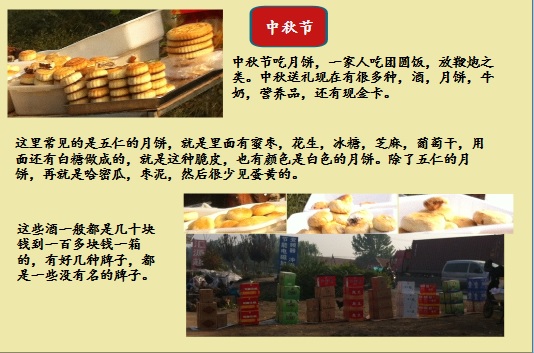
Festivals -> Mooncake
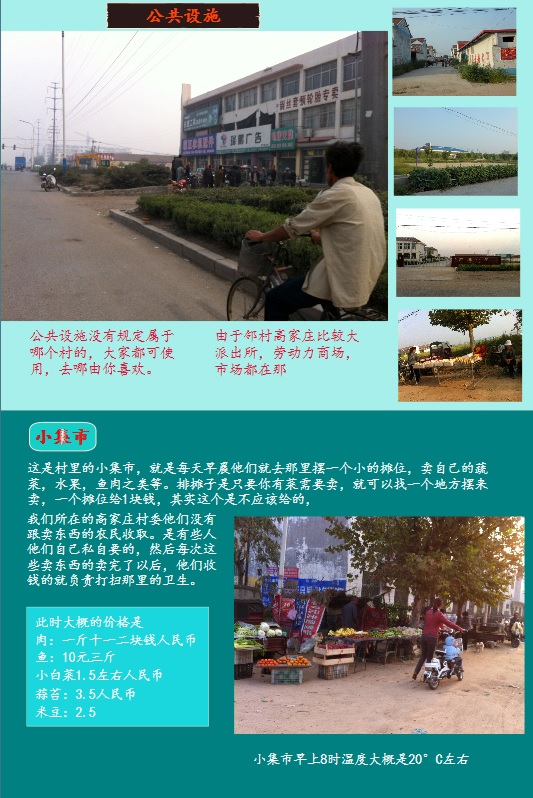
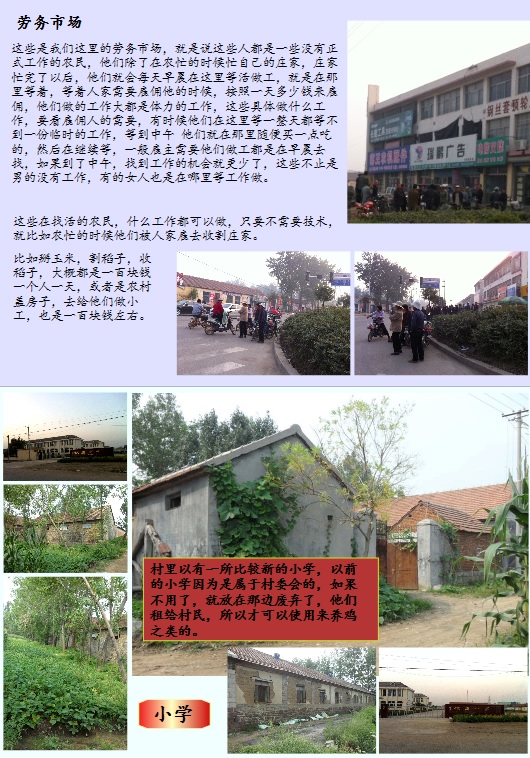
Amenities -> health Road Market Recreation School
Surrounding -> River Bridge Lane
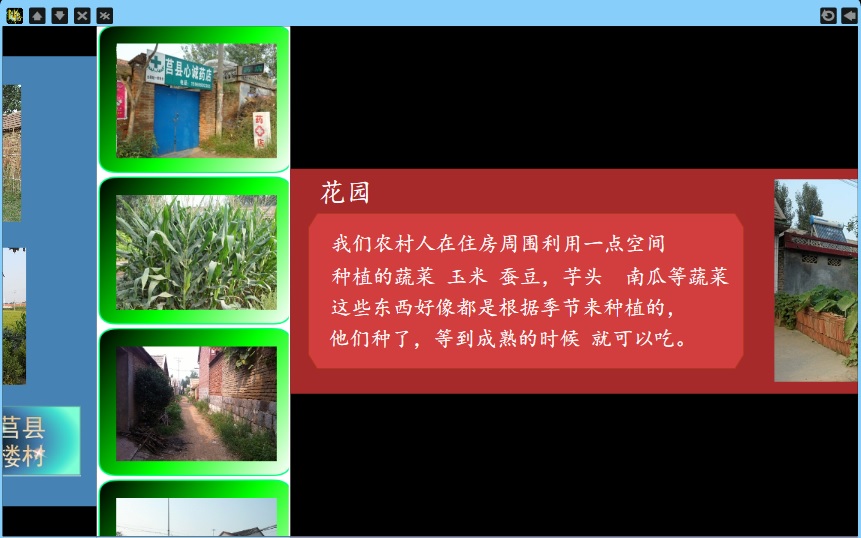
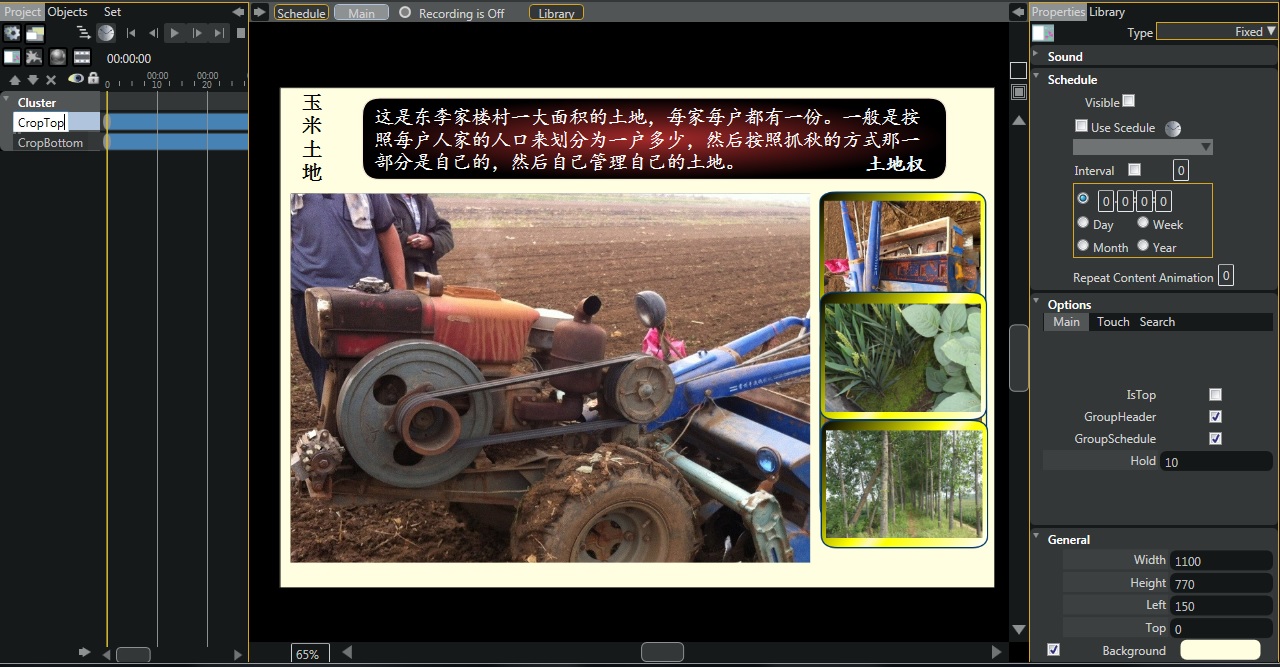
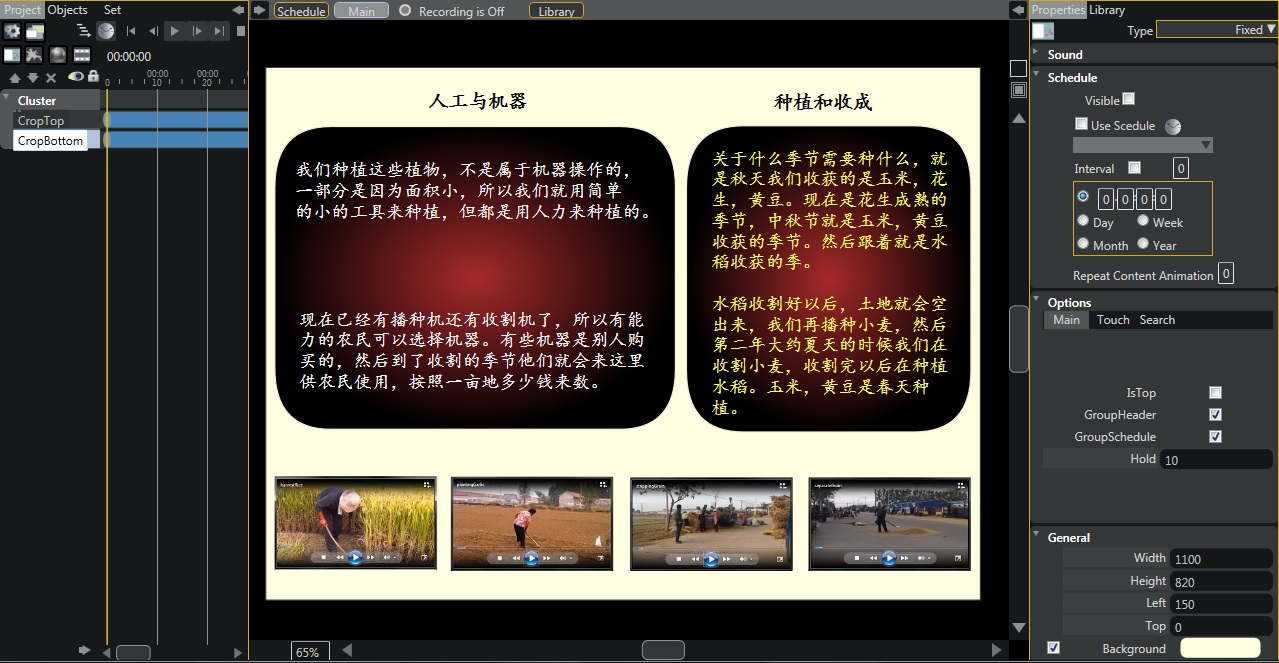
Crop -> Harvest Planting Other
These categories may not mirror the major components, in fact you should diversified them for searching, like duplicating some of them to appears under different categories.